Vitepress的搭建与部署
VitePress 是一个静态站点生成器 (SSG),专为构建快速、以内容为中心的站点而设计。简而言之,VitePress 获取用 Markdown 编写的内容,对其应用主题,并生成可以轻松部署到任何地方的静态 HTML 页面。
相关链接
官方文档:https://vitepress.dev/zh
参考教程:
https://docs.zhengxinonly.com
https://docs.bugdesigner.cn/docs/Tutorial/vitepress.html
https://helloahao096.github.io/helloahao
Vitepress 安装
前置准备
安装 18 以上版本node.js。 https://nodejs.org/zh-cn
新建文档文件夹,在cmd窗口输入指令安装:
pnpm add -D vitepress安装后,通过运行以下命令启动向导:
npx vitepress init按照向导进行配置。
┌  Welcome to VitePress!
│
◇  Where should VitePress initialize the config?
│  ./docs
│
◇  Site title:
│  My Awesome Project
│
◇  Site description:
│  A VitePress Site
│
◆  Theme:
│  ● Default Theme (Out of the box, good-looking docs)
│  ○ Default Theme + Customization
│  ○ Custom Theme
└
配置完后使用以下命令启动具有即时热更新的本地开发服务器:
npx vitepress dev docs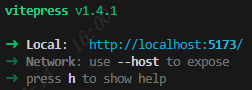
开发服务会运行在: http://localhost:5173
文件结构及书写方式
资源处理
常见的图像,媒体和字体文件会被自动检测并视作资源。
可以把需要处理的静态资源文件放置在根目录的public文件夹中,例如:public/icon.png则使用 /icon.png 引用。
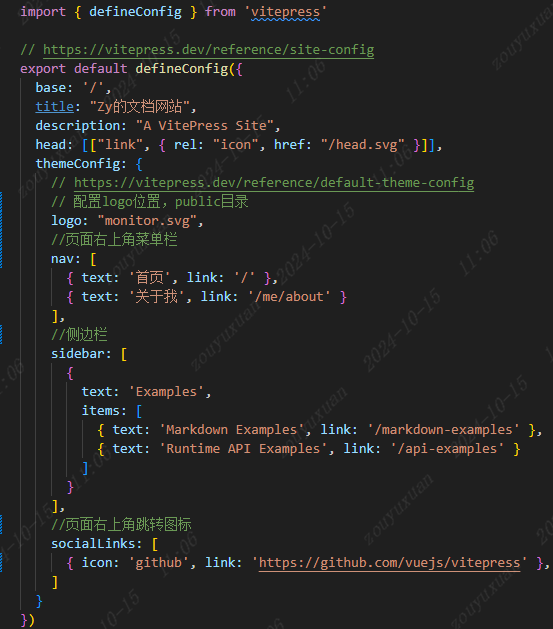
config.mts 中可以修改网站的默认配置,包括网站的标题、描述、图标,侧边栏。
支持的emoji
https://github.com/markdown-it/markdown-it-emoji/blob/master/lib/data/full.mjs
icon图标
https://www.iconfont.cn/
部署到代码托管网站
托管网站选择 Gitlib ,首先 新建一个项目
git init
git add .
git remote add origin [ ]
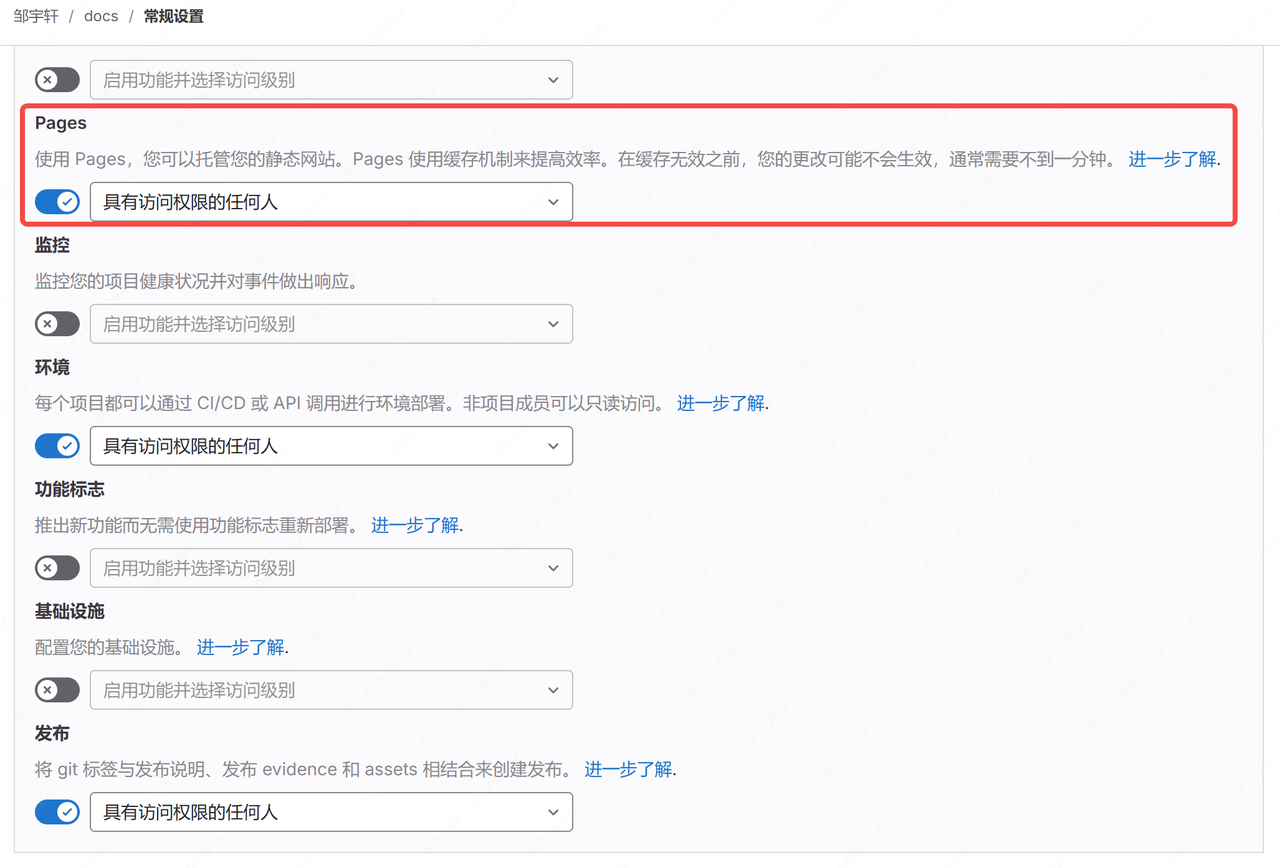
git push -u origin master然后在 设置-通用中 开启Pages
在文件夹根目录 新建排除追踪文件 .gitignore
/node_modules/
/docs/.vitepress/cache/
/docs/.vitepress/dist/
根目录新建 (CI/CD) 的配置文件 .gitlab-ci.yml
stages:
- build
- deploy
build:
  stage: build
  tags:
    - linux
    - docker
    - mpc
  image: docker.io/library/node:22
  rules:
    - if: $CI_COMMIT_REF_NAME == $CI_DEFAULT_BRANCH
  script:
    - npm ci
    - npm run docs:build
  artifacts:
    paths:
      - ./docs/.vitepress/dist/
pages:
  stage: deploy
  tags:
    - linux
    - docker
  image: docker.io/library/busybox:latest
  rules:
    - if: $CI_COMMIT_REF_NAME == $CI_DEFAULT_BRANCH
  script:
    - mkdir ./public/
    - cp -r ./docs/.vitepress/dist/* ./public/
  artifacts:
    paths:
      - ./public/
-推送文件夹到Gitlab,自动根据配置文件进行流水线构建。
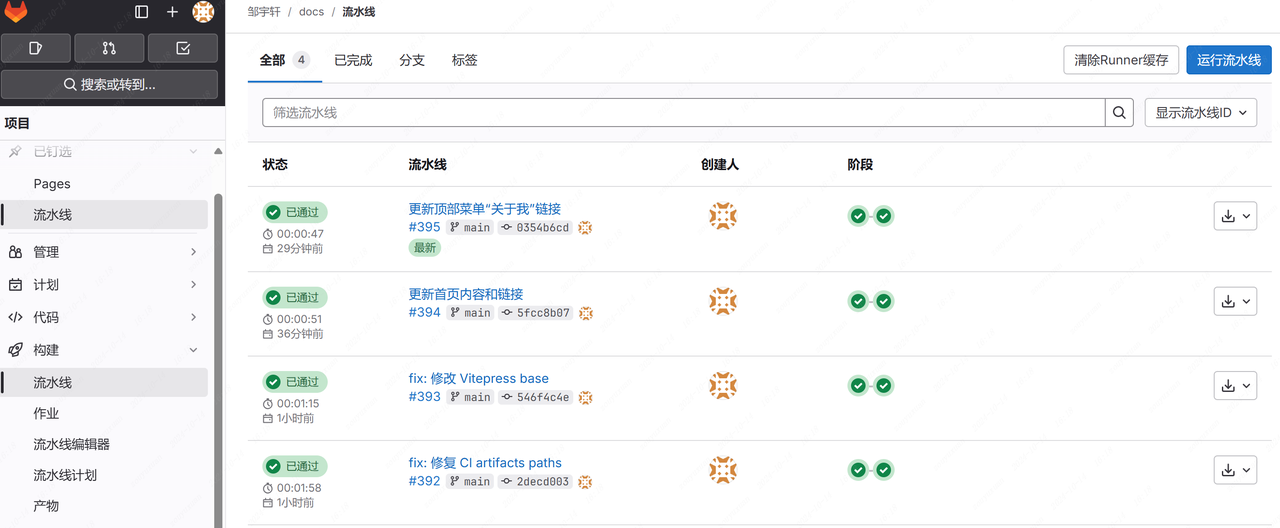
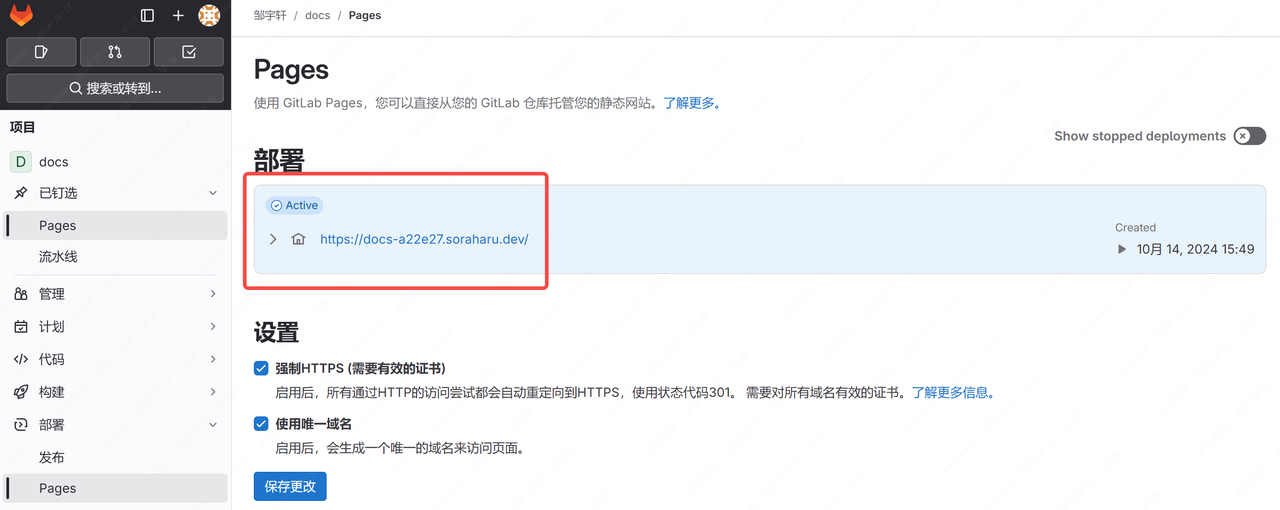
部署完成后可以在 Pages页面看到访问链接